Create a Product Tour
Learn how to create an interactive product tour using Flows.

Product tours are one of the most effective ways to onboard new users. In this guide, you’ll learn how to create an interactive product tour in your app using Flows, from setup to testing and publishing.
Preparation
Before we start adding steps into our product we need to make sure you have everything in place to successfully launch the tour. Take a minute to review the following checklist:
- ✅ Flows SDK is installed in your product
- ✅ Flows components package is installed
If you answered “Yes”, you’re good to go! If not, follow our Quickstart guide first, then come back here.
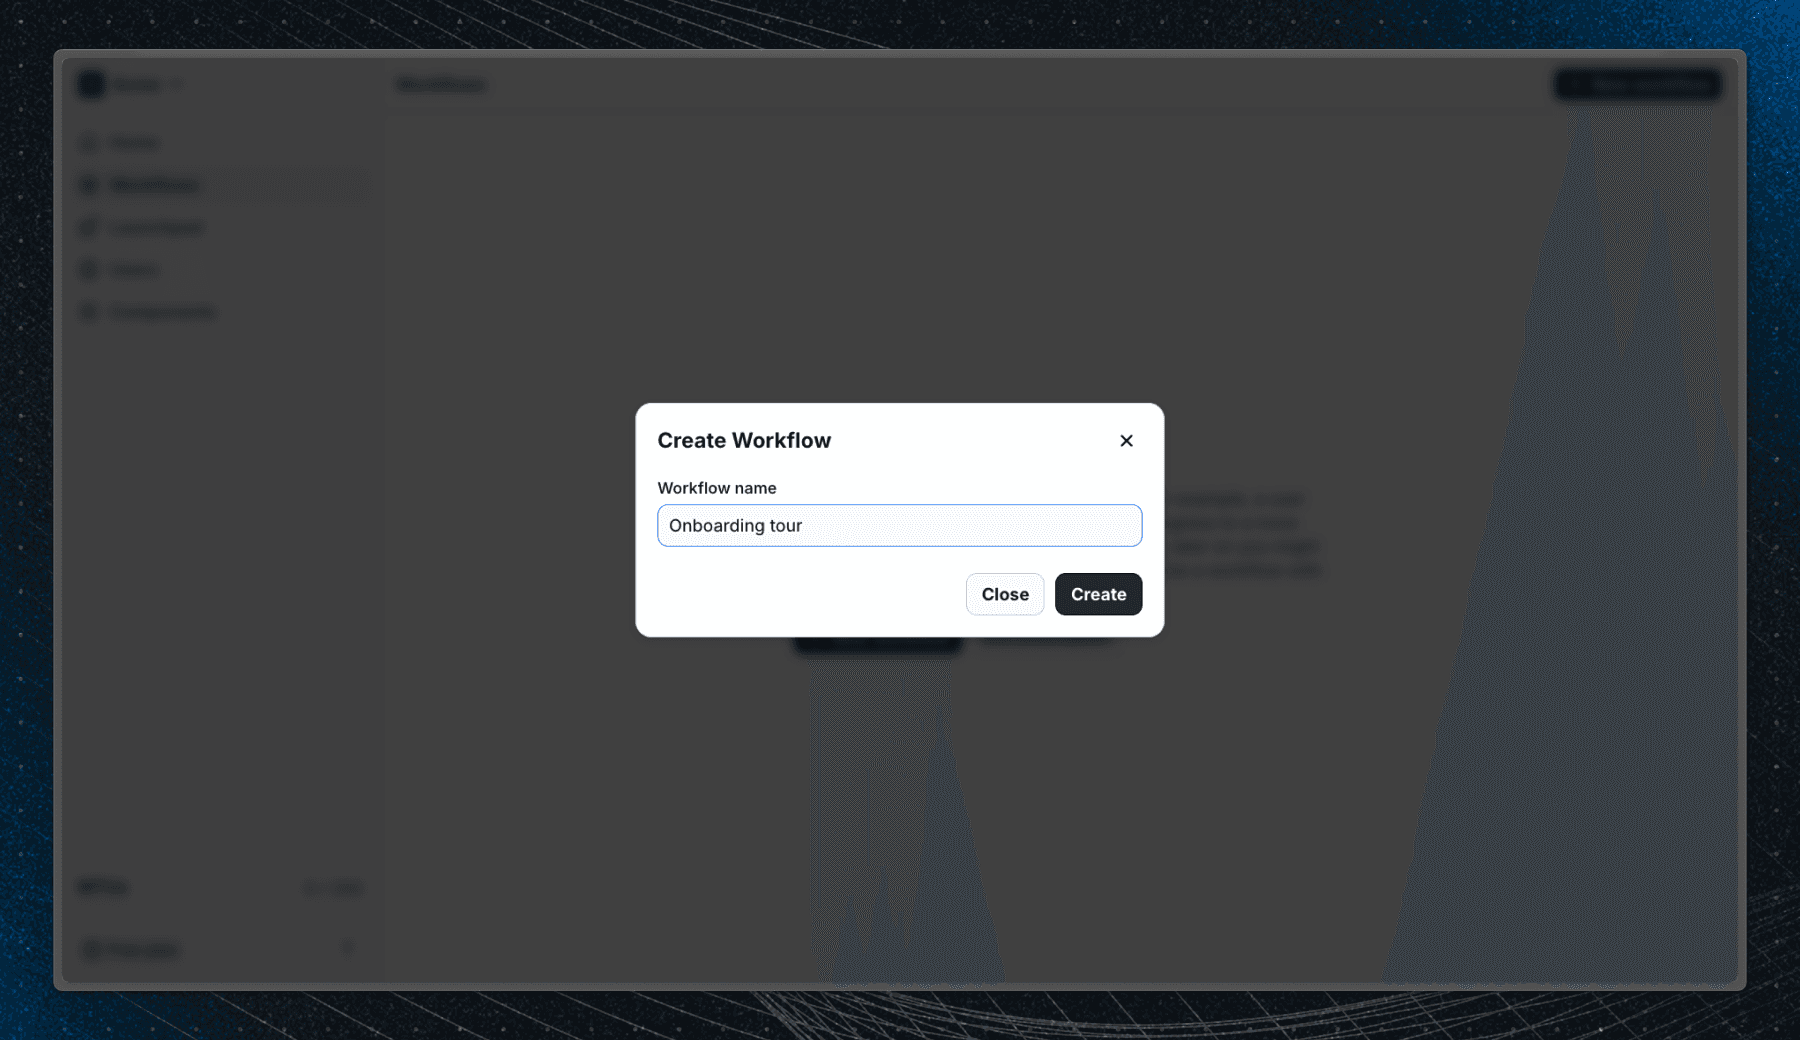
Create a workflow in Flows
Workflows are where you define user experiences. Each workflow contains the logic and content for your product tour.
To create a new workflow:
- Go to the Flows dashboard and click Workflows in the sidebar.
- Create a new workflow.
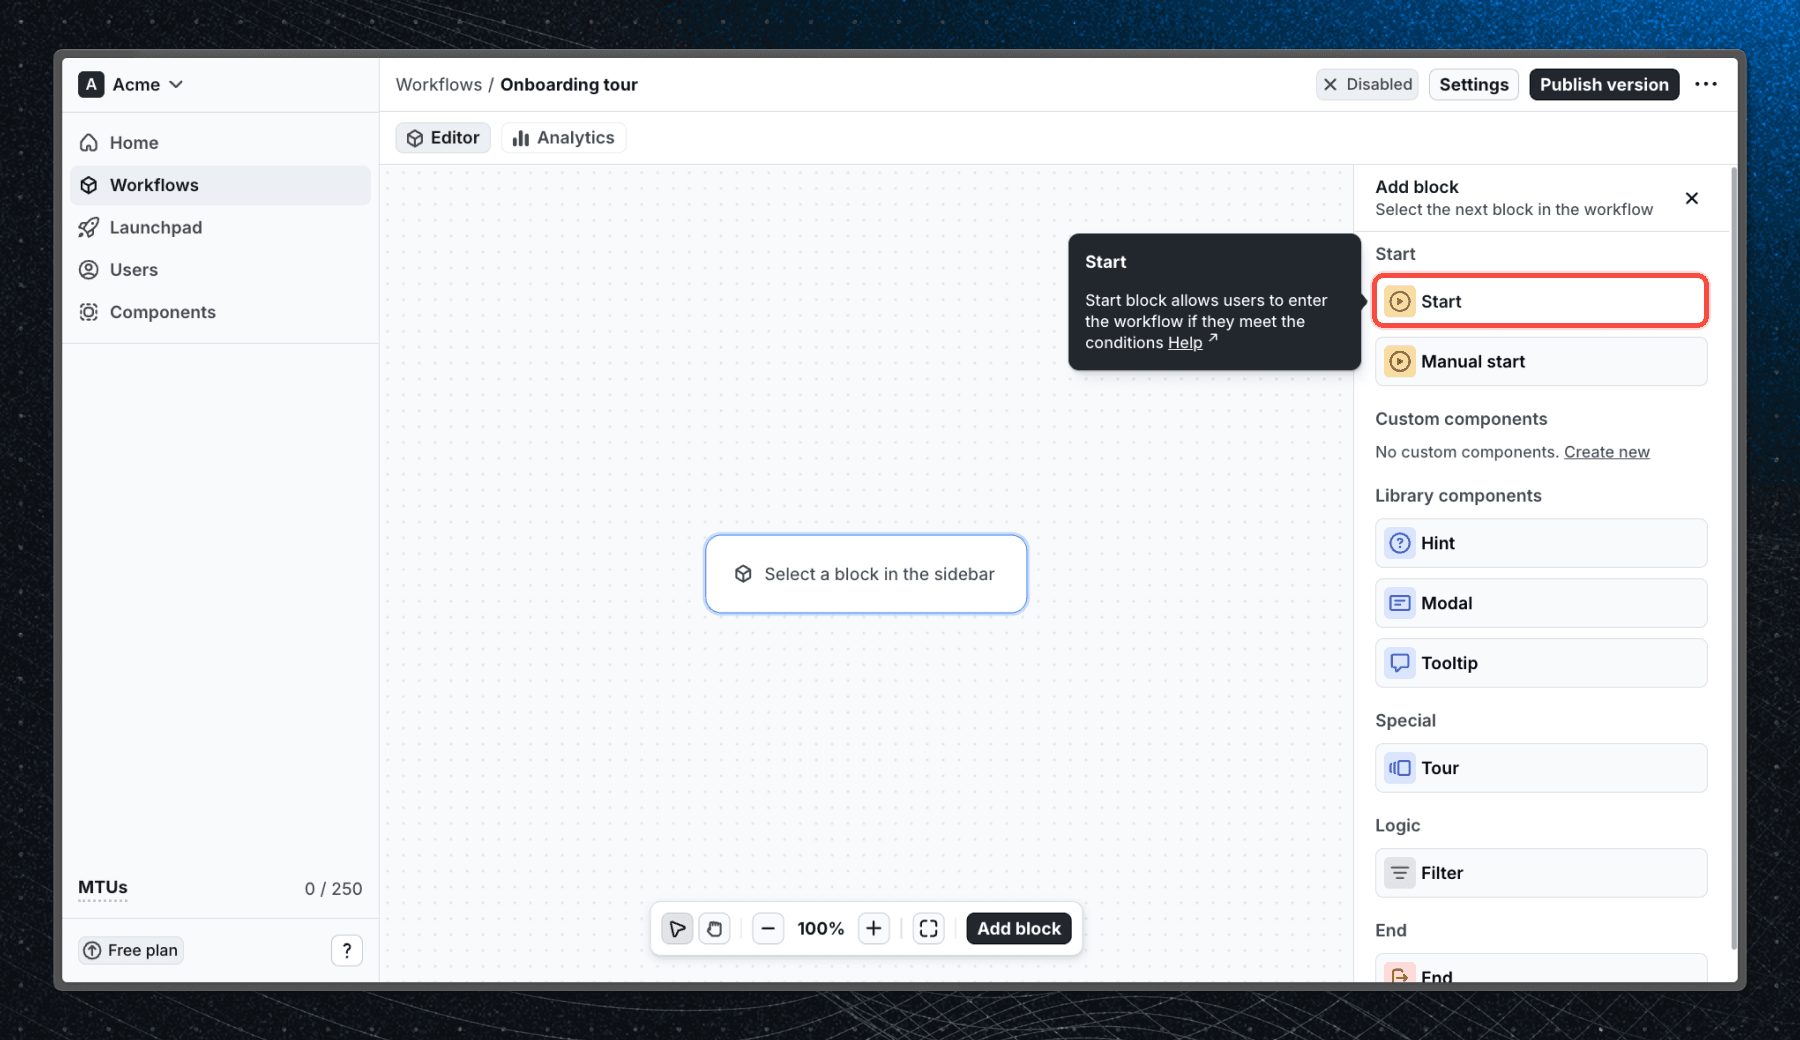
You’ll start with an empty canvas. From the add block sidebar on the right, select Start and add it to the workflow. Start blocks define when and where users enter your workflow, so every workflow needs one. They can be automatic (when users match certain criteria) or manual (triggered by code). For now just add the Start block without configuring any user property filters to allow any user to enter the workflow.
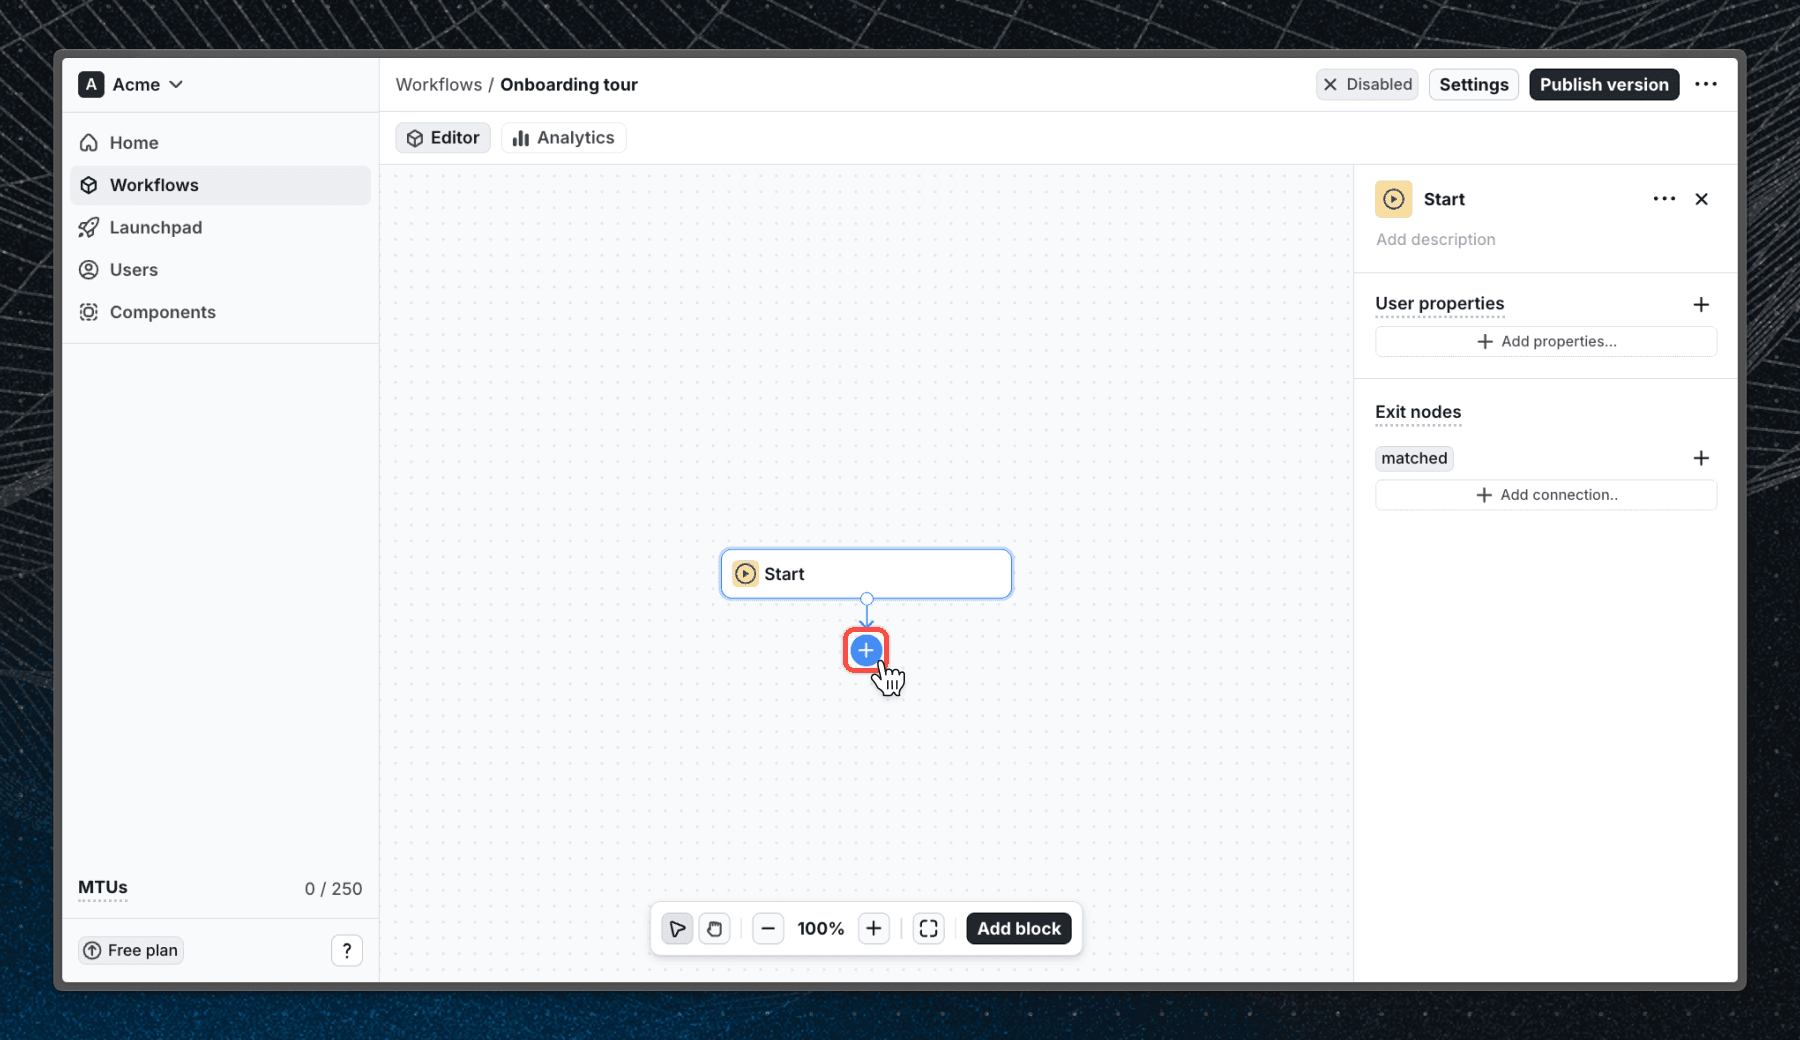
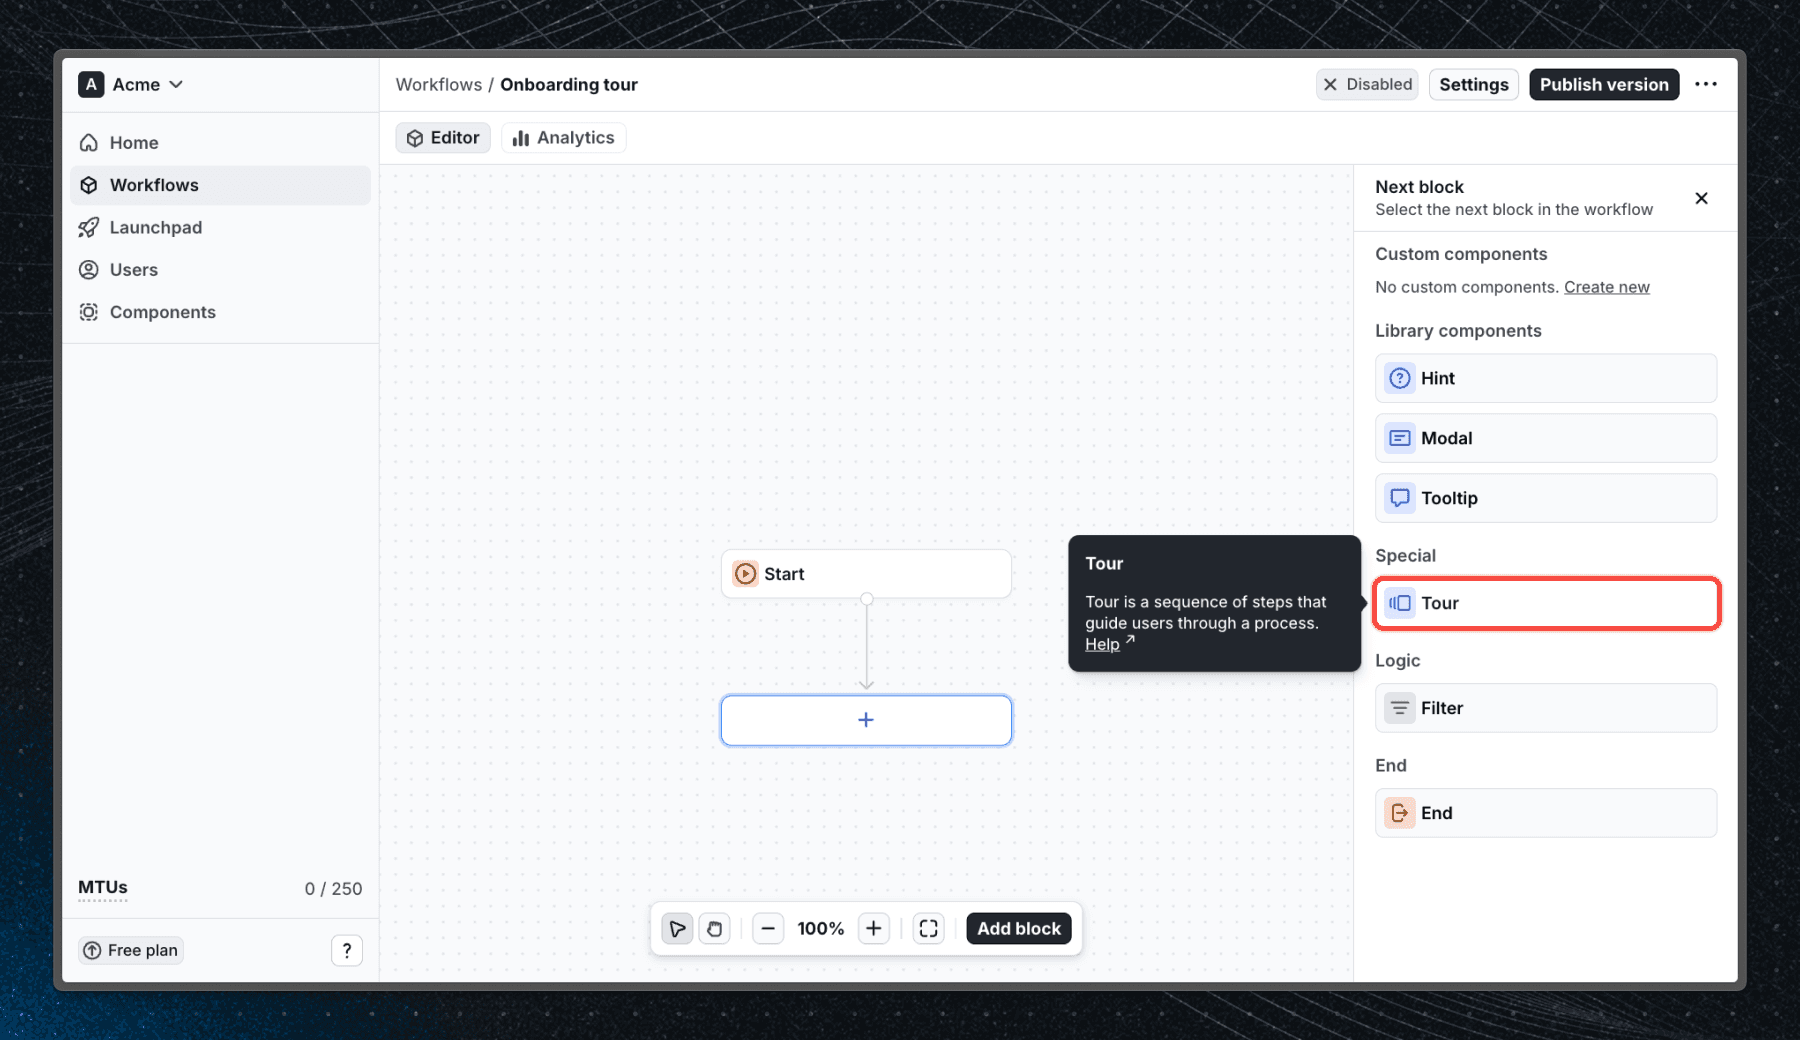
Next, click the blue + under the Start block and select Tour from the list of available blocks.
The Tour block will automatically connect to Start, ensuring every user entering the workflow will begin the tour.
Set up a tour trigger (optional)
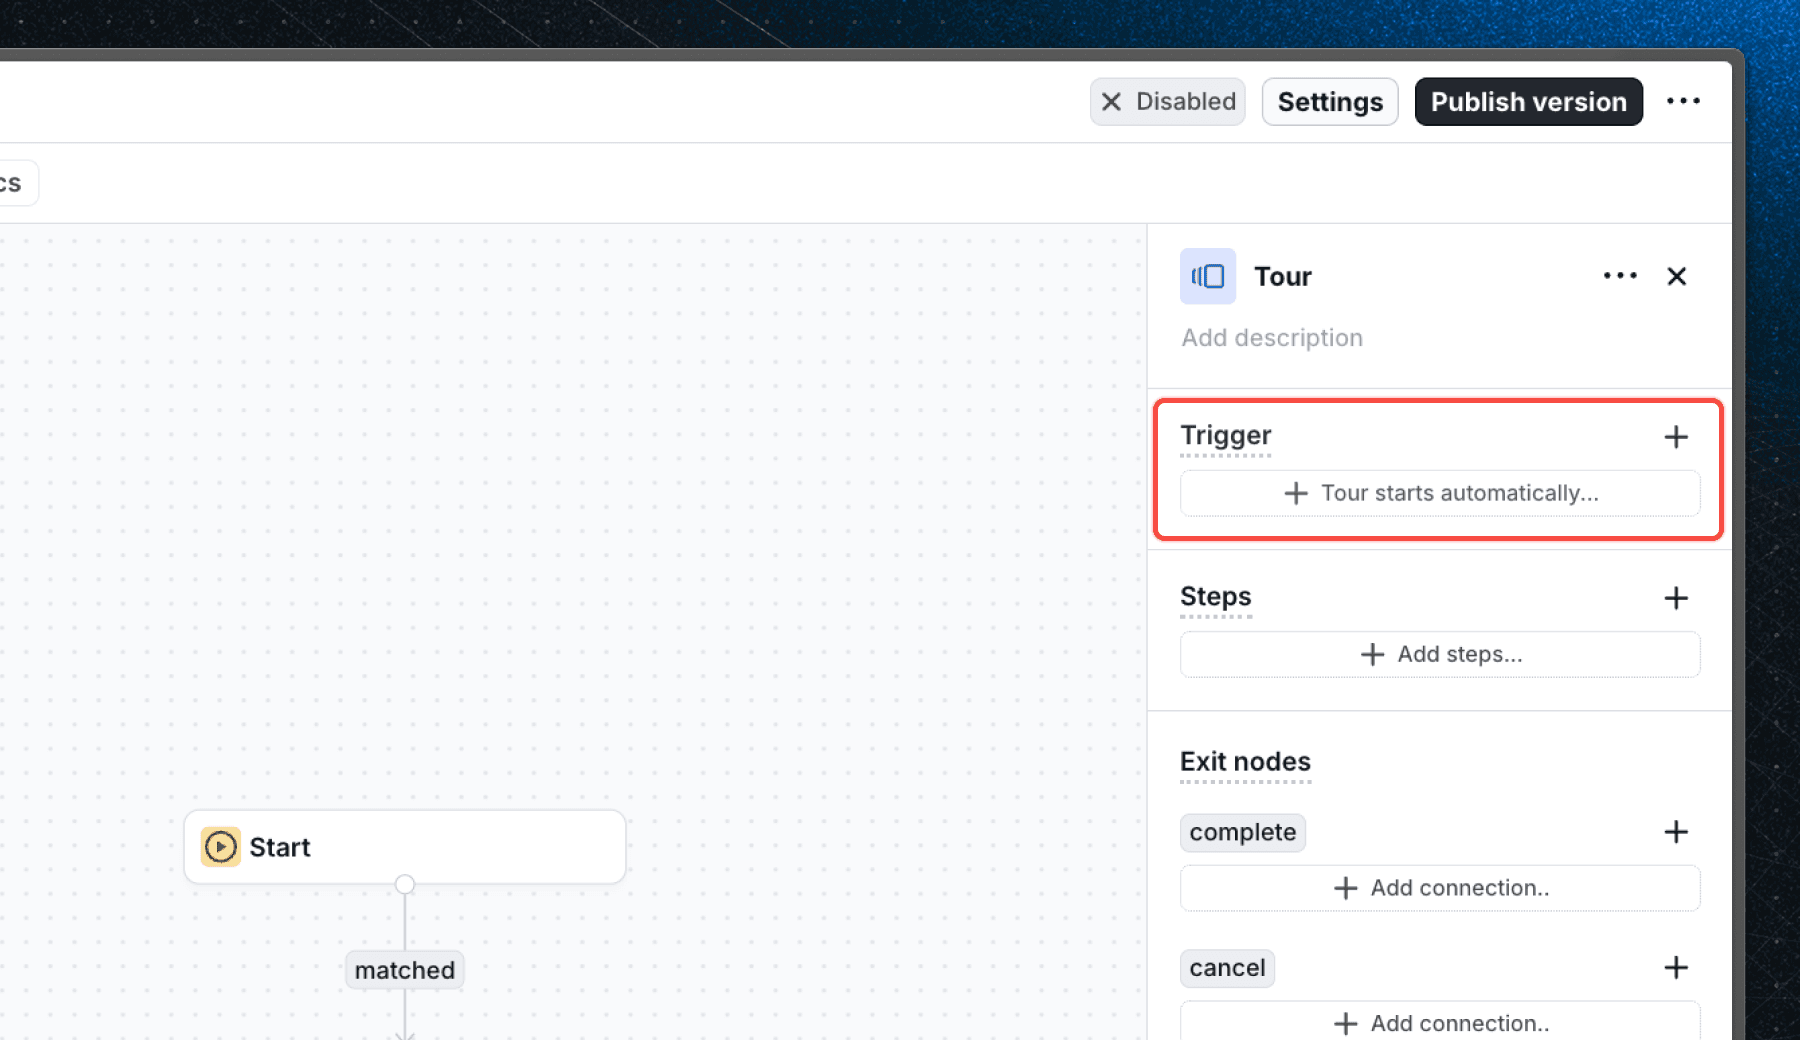
Before adding steps, define when the tour should start. You can trigger the tour when:
- A user visits a specific page
- Clicks a particular element
- An element appears (or doesn’t appear) on the page
You can also combine multiple conditions, for example:
Start when user visits /home, clicks .add-button, and #empty-state is on the page.
If you want the tour to start automatically when a user logs in, simply leave the trigger empty.
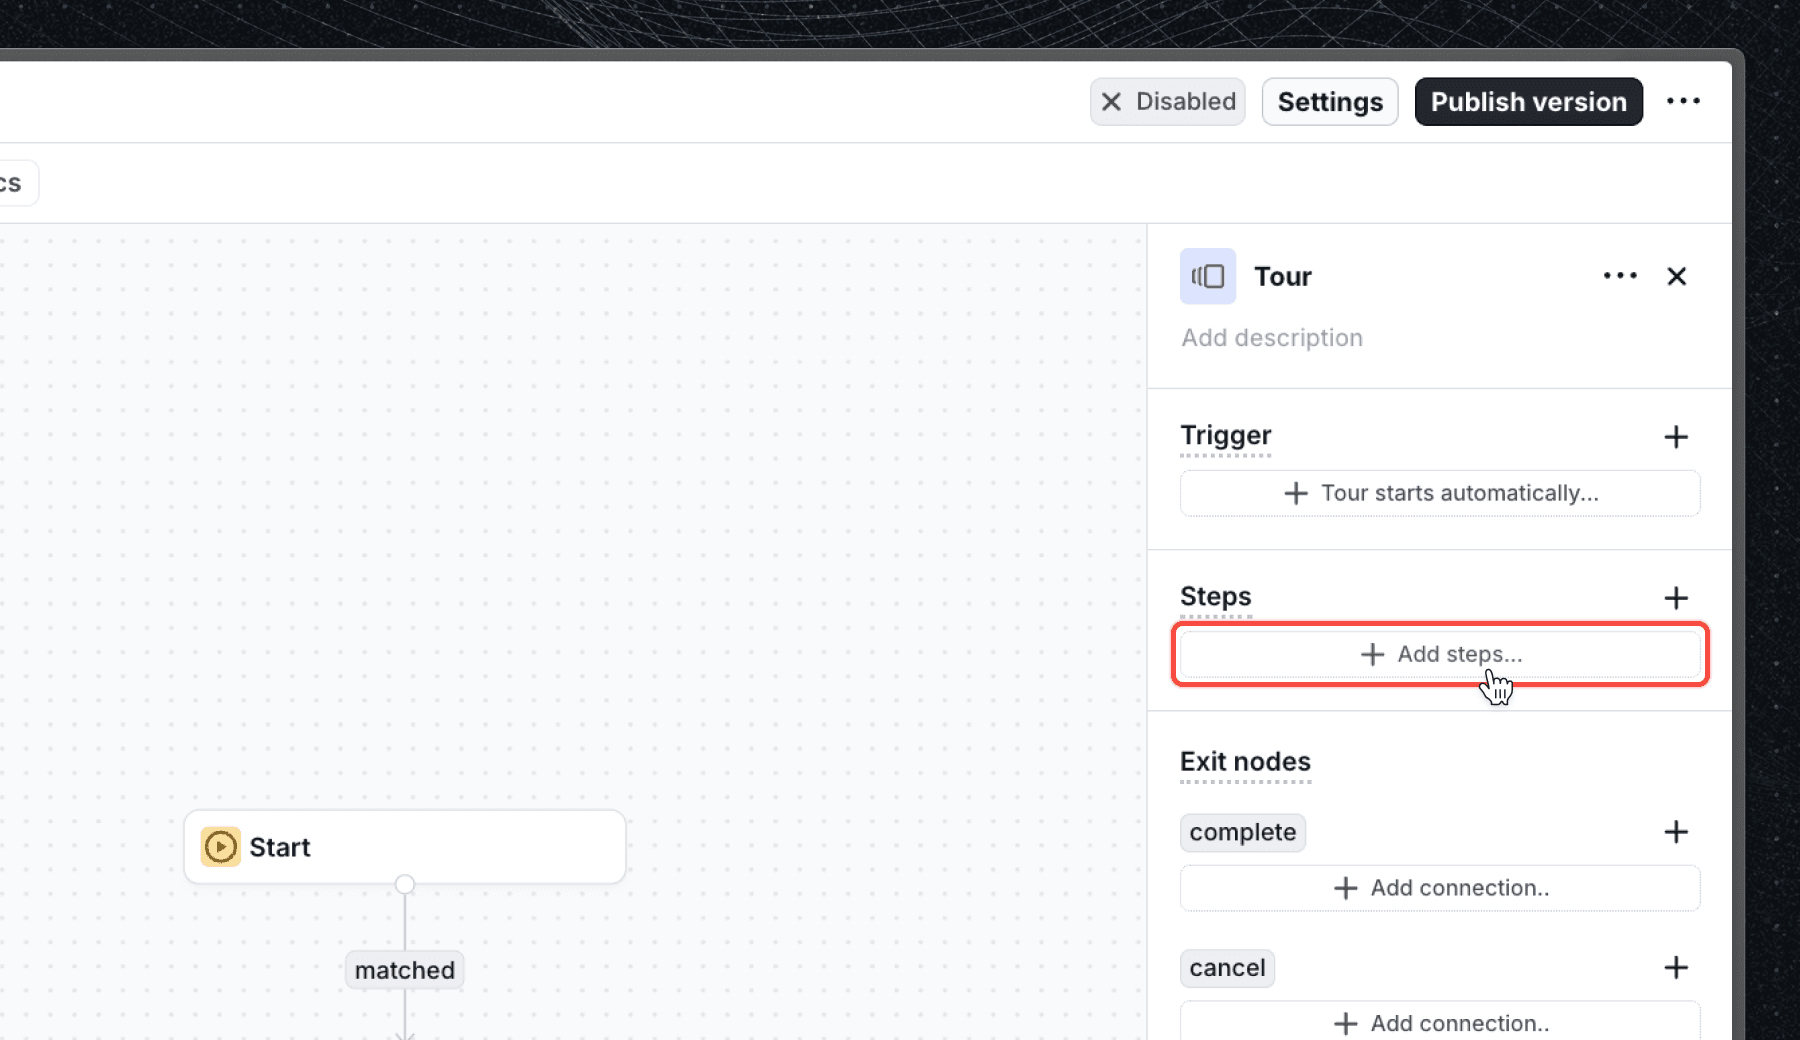
Add and customize tour steps
Now it’s time to build the actual tour steps. Tours are made up of interactive components like modals and tooltips that guide users toward key actions. Flows also comes with logic steps like Wait that pauses the tour until users complete an action, navigate to a specific page, or after a set time delay.
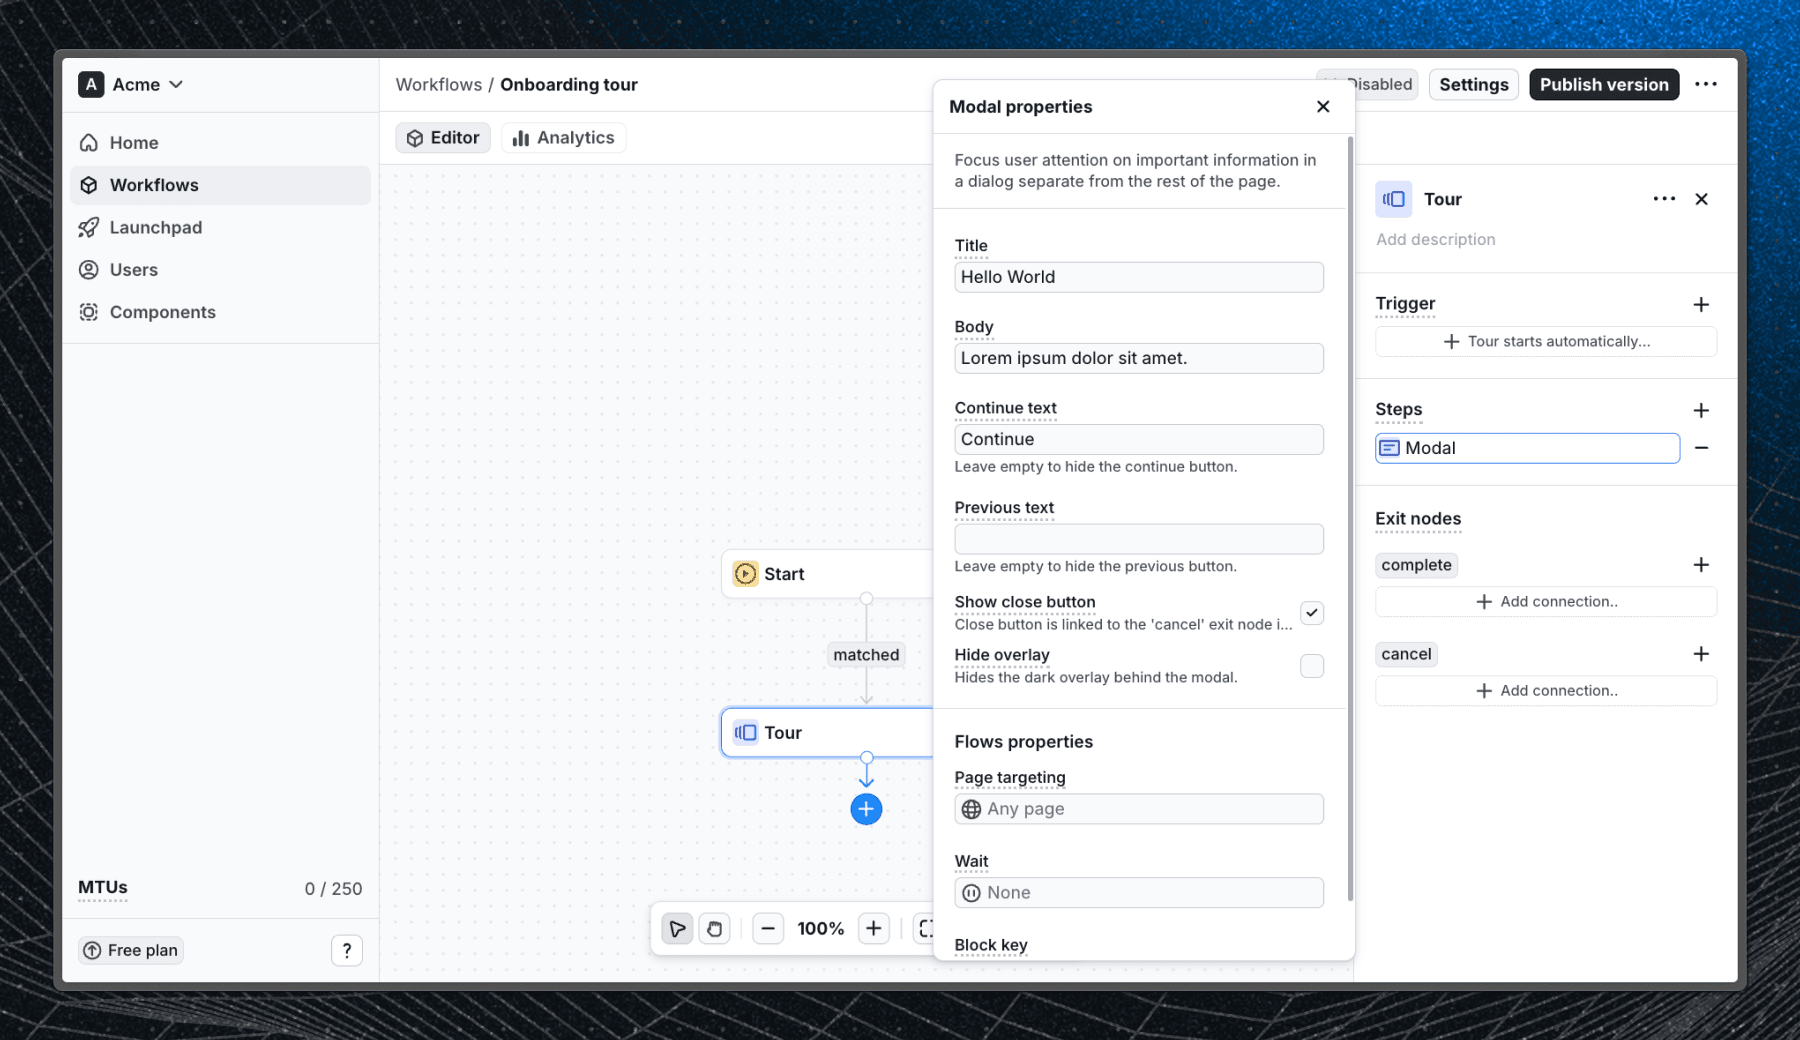
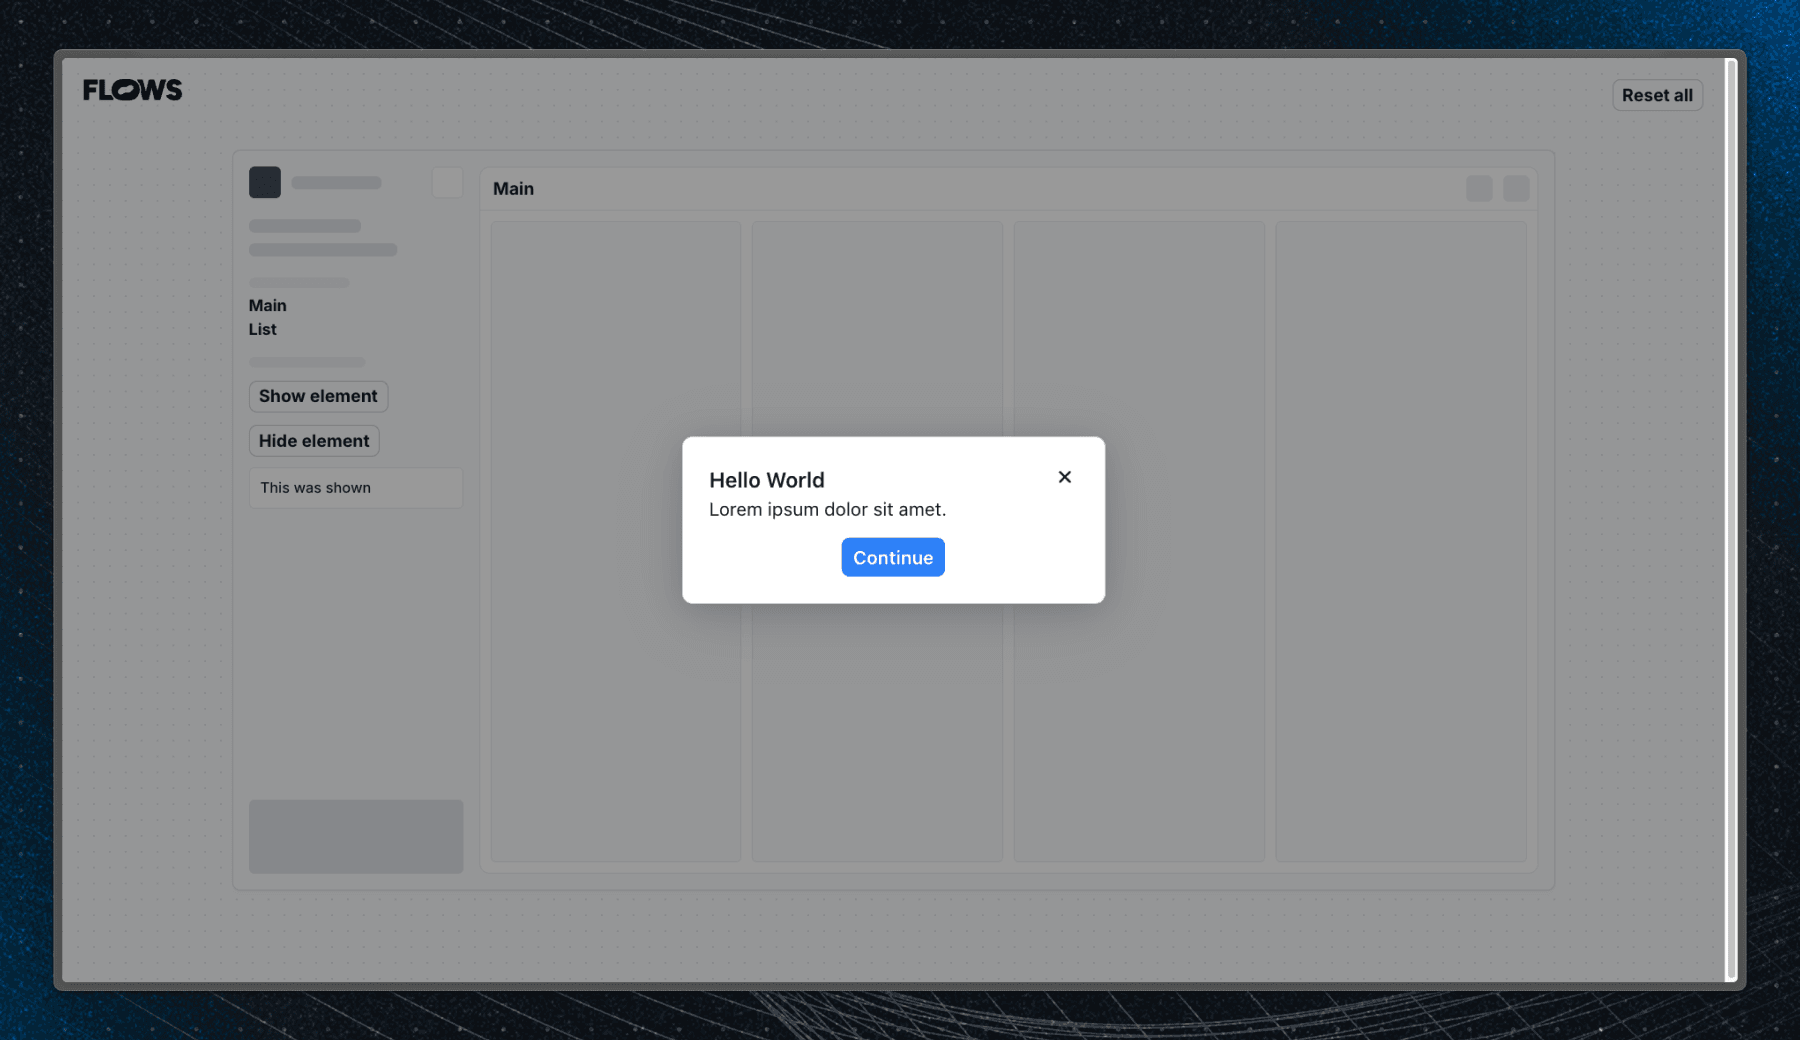
Add a welcome modal
Let’s start with a Modal that greets the user.
First click Add steps and select Modal (this element is part of the built-in components that Flows comes with, make sure you have installed the Basics V2 package for the component to work in your app).
Click the newly added step to edit its properties. You can update the title, body text, button label, and other options that control how the modal looks and behaves.
See the Modal documentation for details.
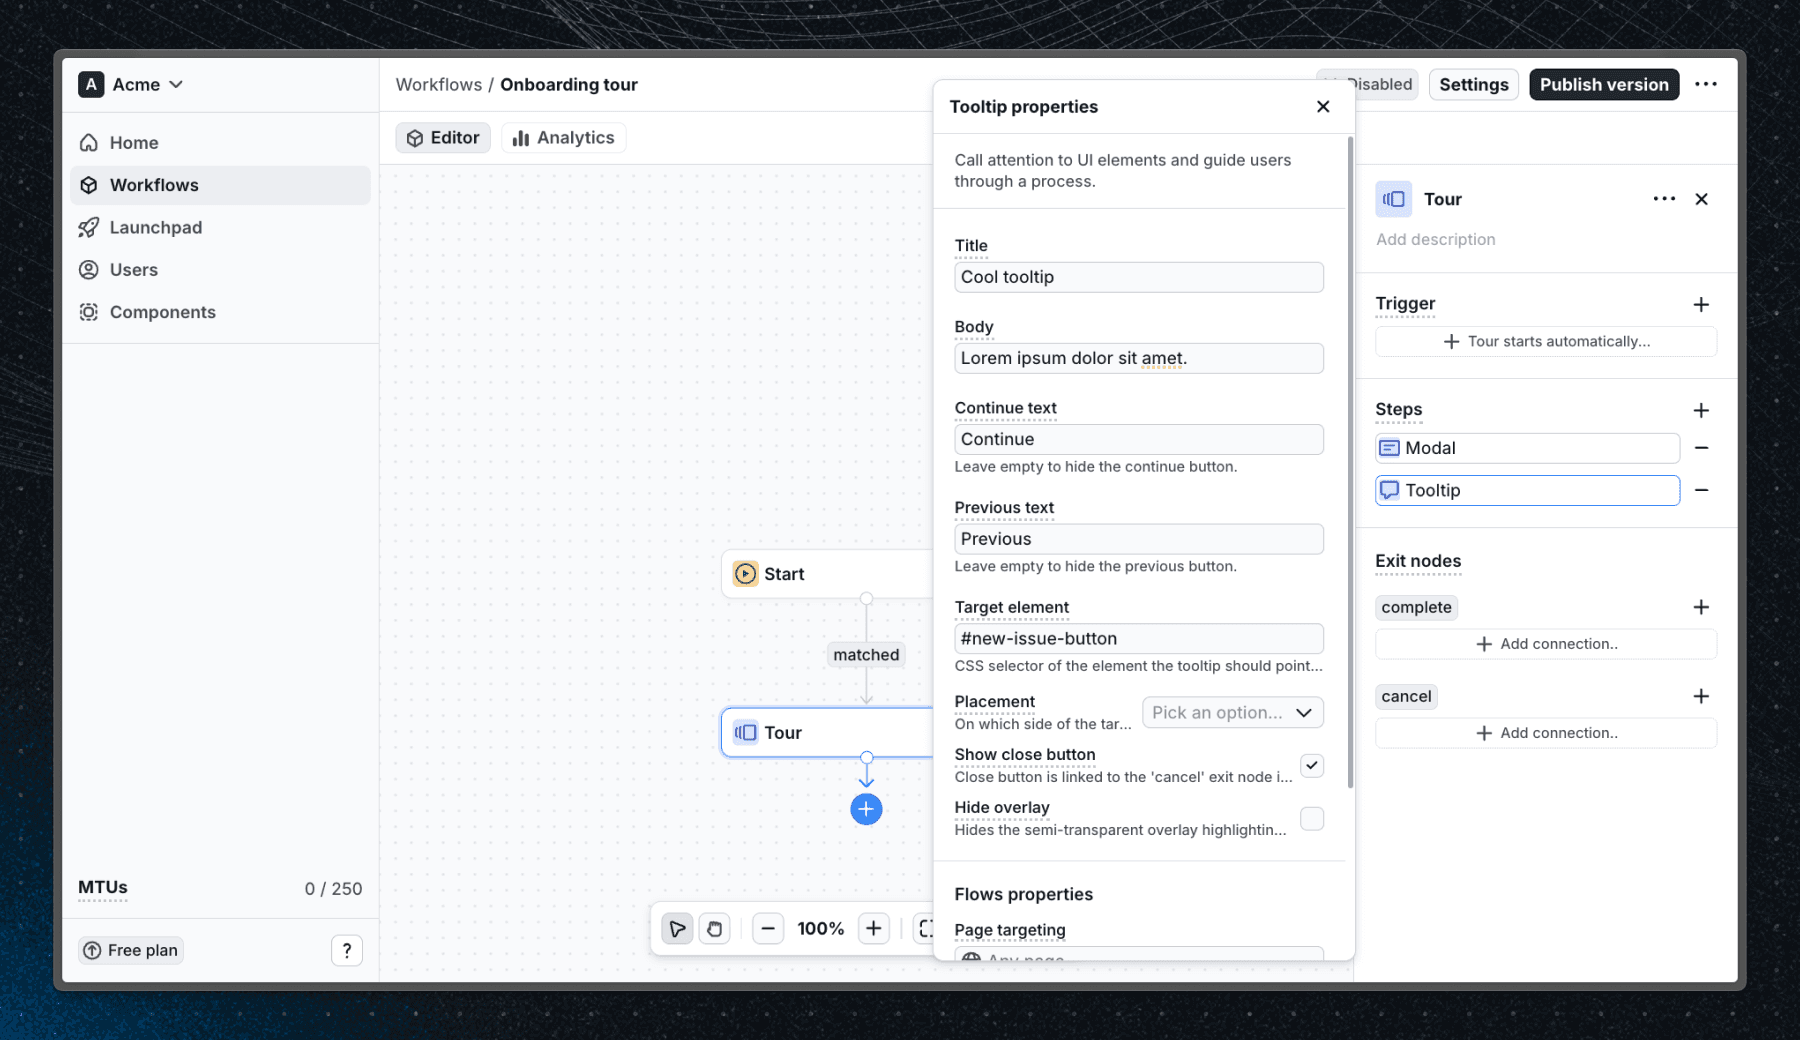
Add a guiding tooltip
Next, let’s add a Tooltip to point users toward an important element in your app. Click the + next to Steps, select Tooltip, and open it to edit its properties.
Tooltips have similar properties to modals but require a Target element — a CSS selector that points to an element in your UI (e.g., #my-button). If the element doesn’t exist on the page, or you leave it empty, the tooltip won’t appear.
Learn more about Tooltip properties.
Test your product tour
After adding all your steps, the tour is ready for testing. Testing ensures your tour works as intended before releasing it to real users.
To test your workflow:
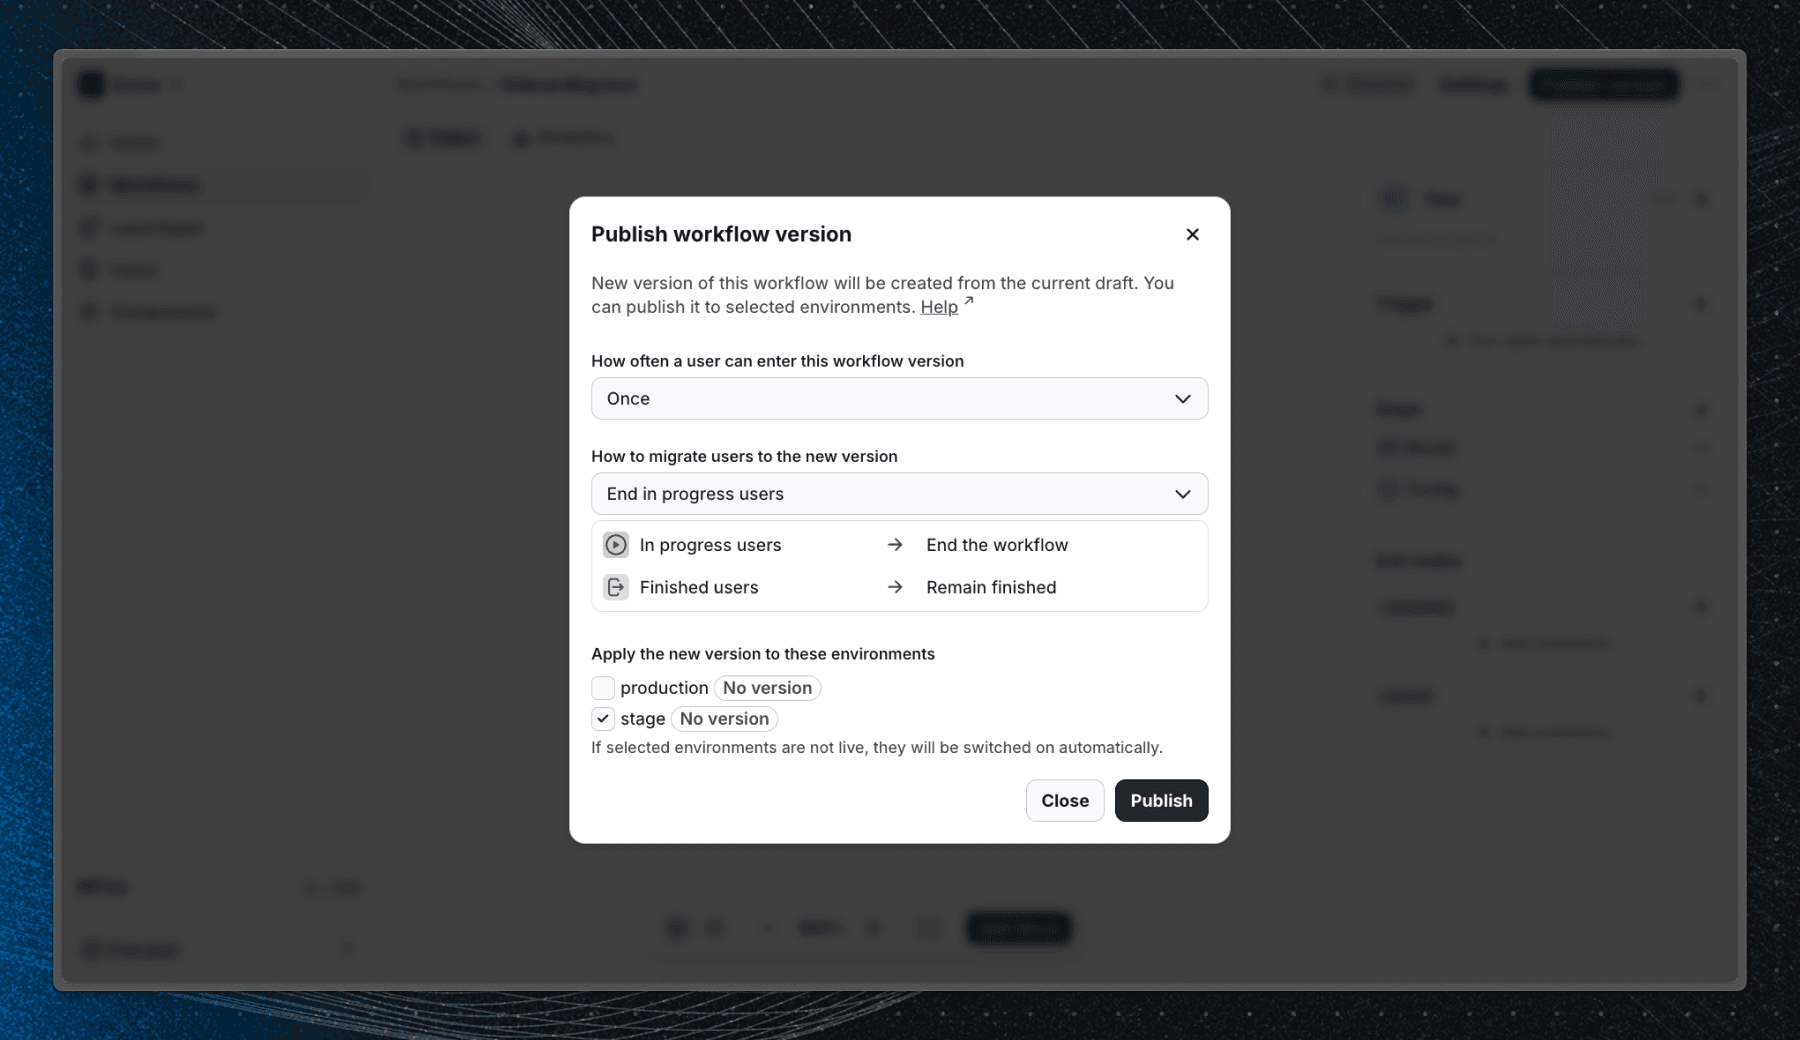
- Click Publish in the top-right corner.
- In the publish dialog, choose:
- How often a user can enter the workflow (once or every time they meet the start conditions)
- What to do with users who’ve already entered (you can ignore this for now)
- The environment to make the workflow live in
We recommend publishing to a staging environment if you can (see environments docs to learn how to add a new environment). If you’re testing in production, limit access using user property filters in the Start block (eg. admin = true or email = your@email.com), learn more about how to filter users using the Start block.
After publishing, visit your app and trigger the tour to verify that each step appears and behaves correctly. If you didn't set any tour trigger conditions, the tour should start automatically.
To reset your tour for another test:
- Open the Users page in Flows.
- Find your user profile by searching for your ID.
- In the Workflows tab, locate your tour and click Reset progress.
- Then refresh your app and trigger the tour again.
Learn more about testing workflows.
Publish your product tour to users
Once you’re happy with how your product tour looks and feels, it’s time to share it with your users 🎉
- In the Start block, configure user property filters if you only want the tour to show for certain segments. See our guide on targeting only new users to learn more.
- Click Publish again and select the production environment.
That’s it, you’ve built and launched your first interactive product tour with Flows.
Next steps
Now that you’ve created your first product tour, try expanding it with more components like inline components, custom UI, or personalized content. Flows makes it easy to evolve your onboarding from a simple tour into a complete product adoption experience.
Explore the Workflows examples or Custom components guide to see what else you can build.
Last updated on